通过PhotoZoom放大图片不失真的详细操作流程
通过PhotoZoom放大图片不失真的操作过程

1、先看一下图片放大后的效果,很模糊,完全失真了。

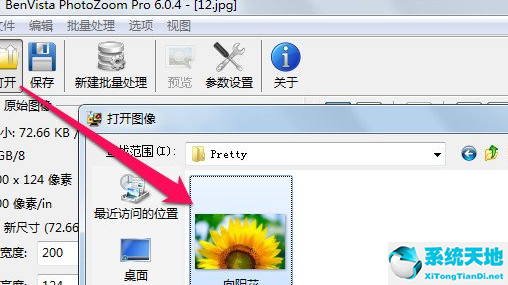
2、接下来我们打开PhotoZoom软件,点击打开,找到想要放大的图片。
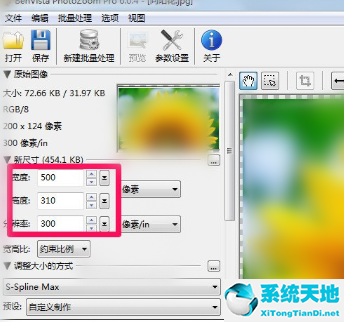
3、使用PhotoZoom打开图片后我们可以在左侧直接输入照片的尺寸和分辨率,在宽高比中还可以选择拉伸或剪切。
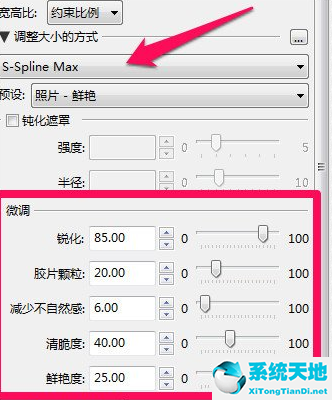
4、PhotoZoom图片无损放大工具不只这些,还可以在下方设置调整大小的方式,每种方式获得的效果不一样,大家可以多尝试一下,然后下面还可以进行微调。
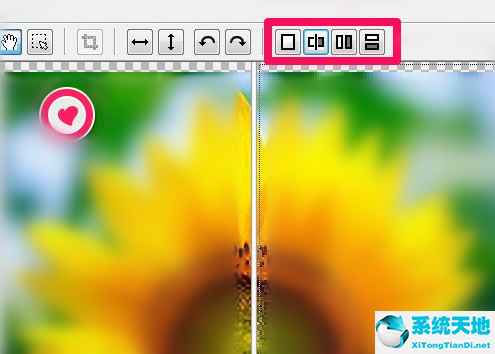
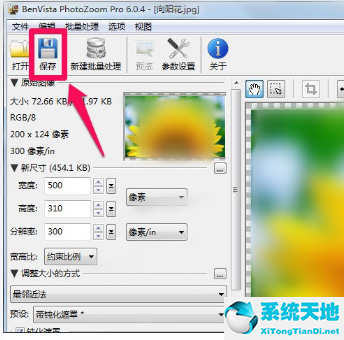
5、在PhotoZoom的右侧可以切换软件的预览方式,切换成对比方式,左侧是PhotoZoom处理的效果,右侧是图片直接放大的效果。从这里可以直观的看到软件的处理效果非常好。
6、图片放大处理完成之后我们获得了满意的效果,那么点击软件左上角的保存就可以了,怎么样,很简单吧。
今日就快来学习本文通过PhotoZoom放大图片不失真的操作过程吧,相信在以后的使用中一定会得心应手的。