Adobe Illustrator CS6倾斜对象的详细操作方法介绍
第一步:打开桌面上的Adobe Illustrator CS6(如图所示)。

第二步:在菜单栏找到并依次点击【文件】、【新建】(如图所示)。

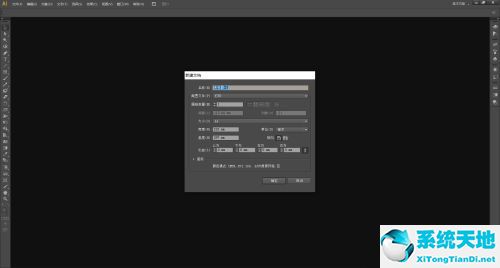
第三步:在弹出的窗口设置好参数,点击【确定】,新建文档(如图所示)。
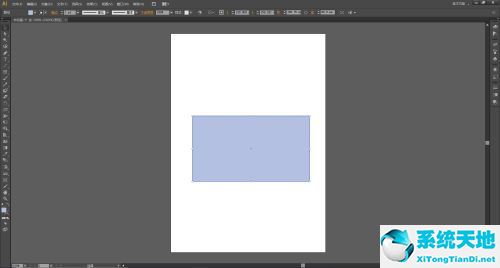
第四步:选中要倾斜的对象(如图所示)。
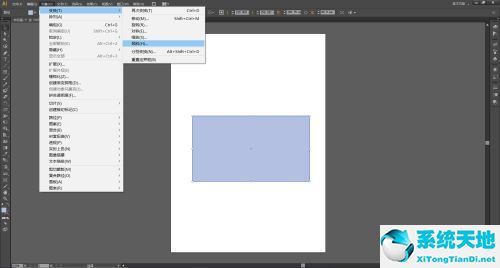
第五步:在菜单栏找到并依次点击【对象】、【变换】、【倾斜】(如图所示)。
第六步:在弹出的【倾斜窗口】里设置好倾斜的角度,如果需要复制出一个新的对象就点击【复制】,如果只想倾斜对象就点击【确定】(如图所示)。
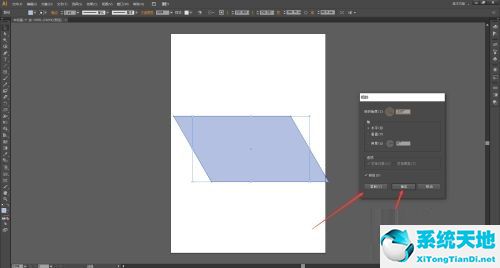
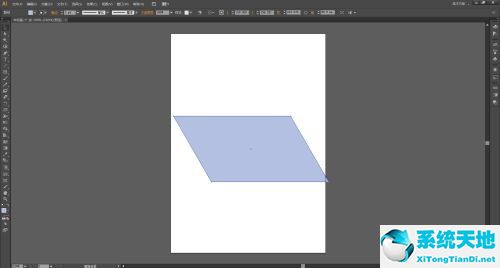
第七步:点击【确定】或【复制】之后,对象就出现了倾斜效果(如图所示)。
以上就是小编给大家带来的Adobe Illustrator CS6怎么倾斜对象的全部内容,希望能够帮助到大家哦。